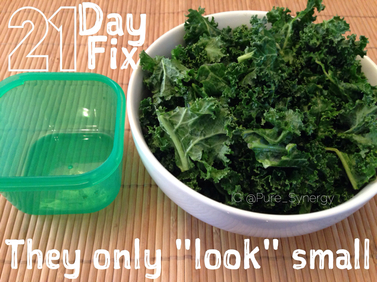
Since my first post, I've had a few people express concern over the size of the color coded food containers. Yes, they LOOK small, but trust me, they hold A LOT more food than you'd think! In fact, everyone in my 21-Day Fix accountability group has commented at some point that they're amazed at the amount of food they're able to eat on this plan, and still lose weight! That's because they're fueling their body with nutrient dense foods.
|
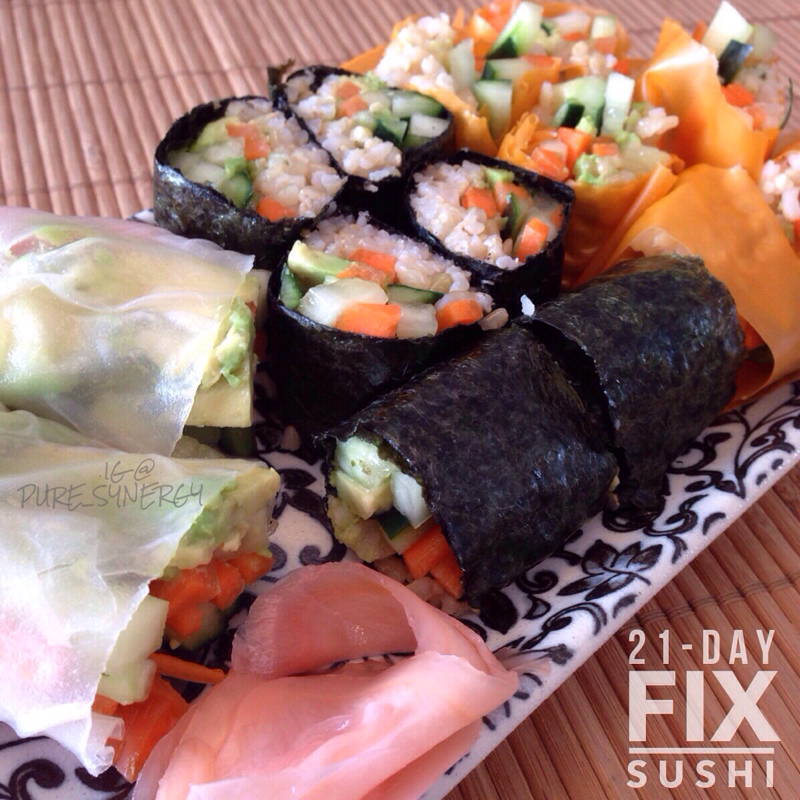
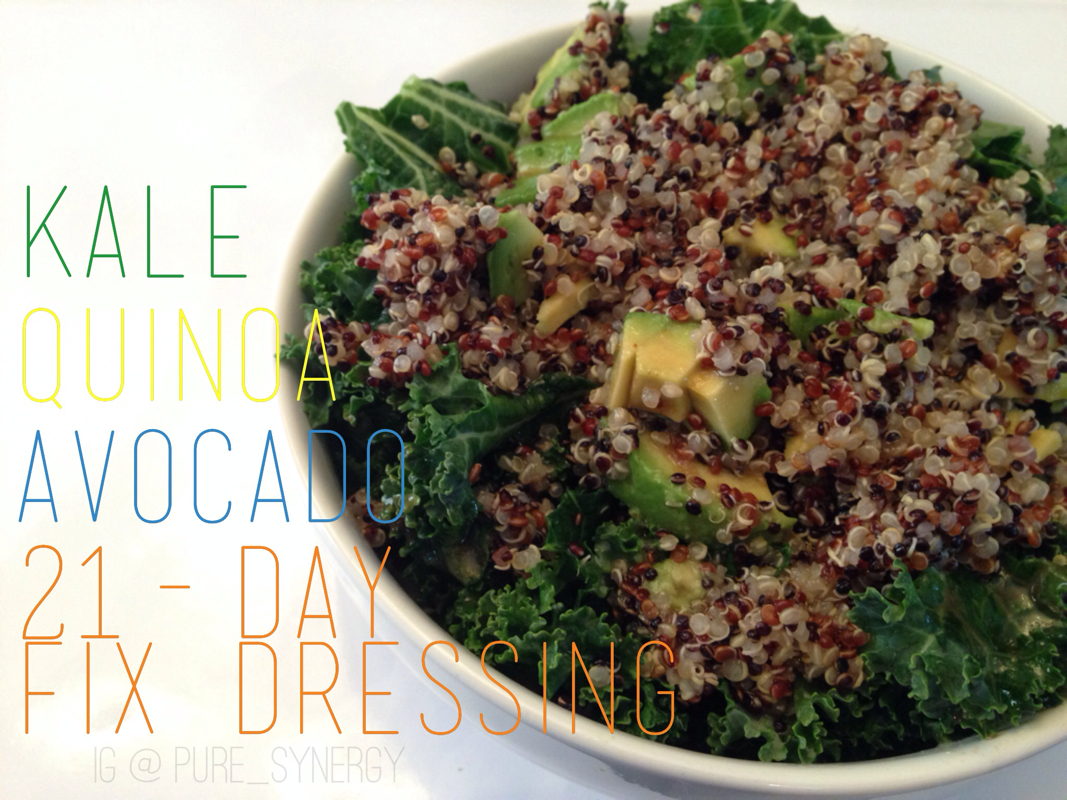
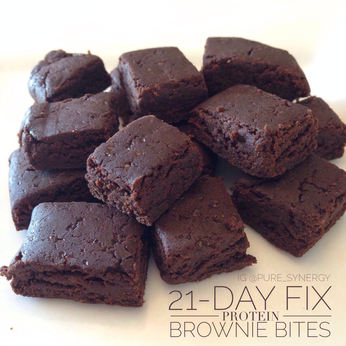
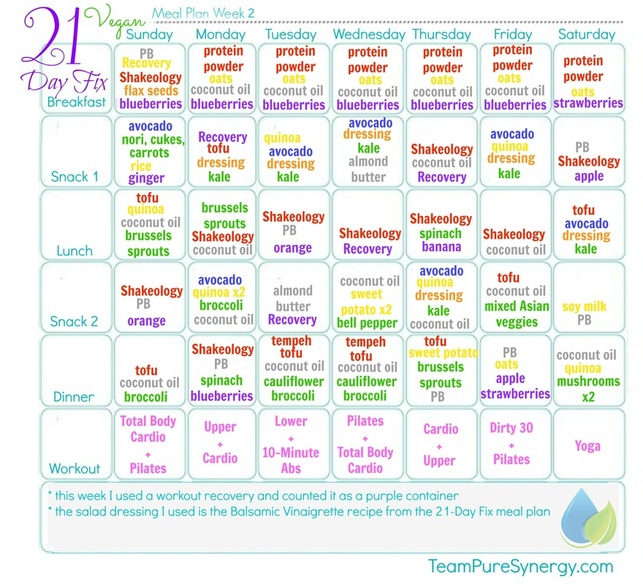
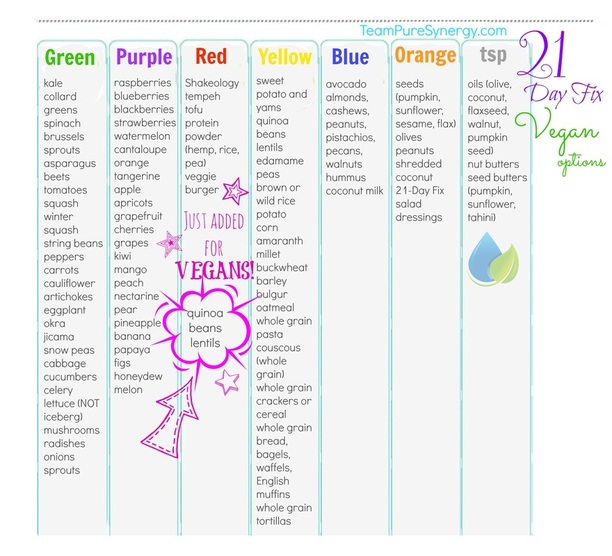
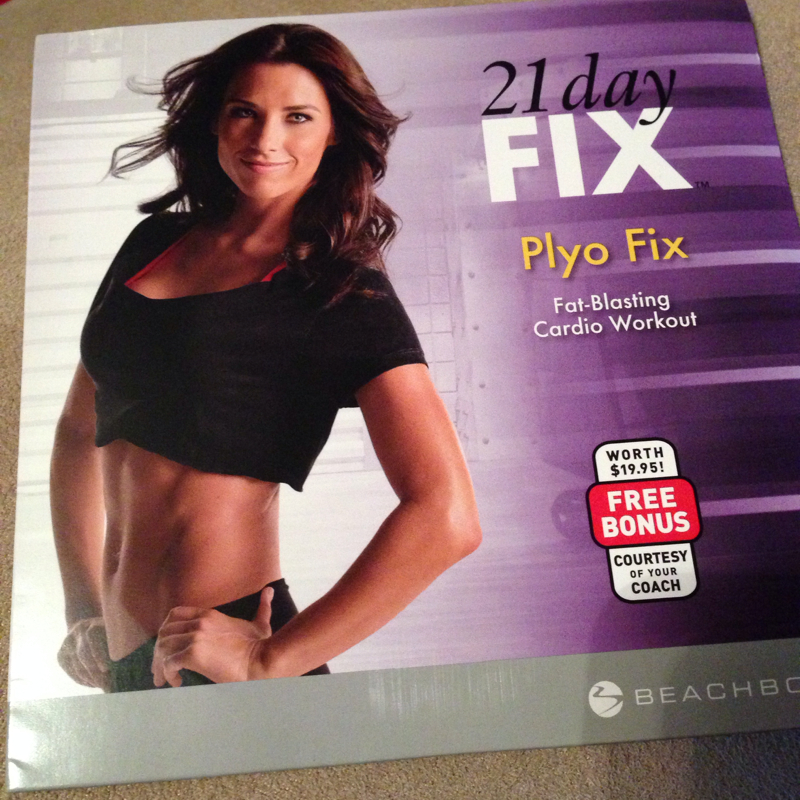
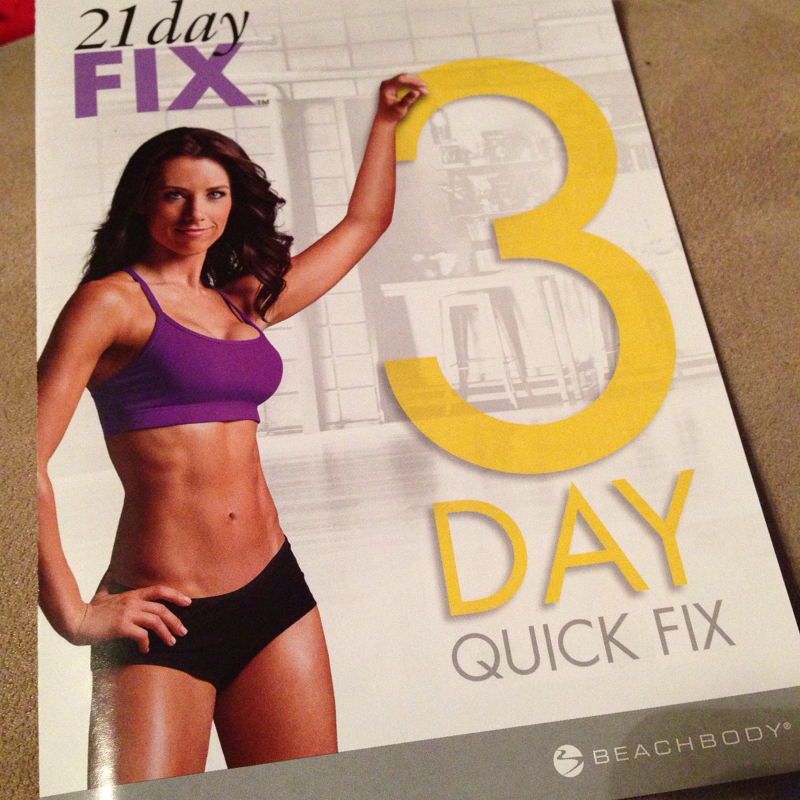
As promised, here is my week 2 update for the 21-Day Fix! First of all, I seriously can't believe how fast this is going. Two weeks already! Since my first post, I've had a few people express concern over the size of the color coded food containers. Yes, they LOOK small, but trust me, they hold A LOT more food than you'd think! In fact, everyone in my 21-Day Fix accountability group has commented at some point that they're amazed at the amount of food they're able to eat on this plan, and still lose weight! That's because they're fueling their body with nutrient dense foods. This week I bumped myself up the the next level of calories, which allows me a couple extra containers. I've also been experimenting a lot more with my food. I'm still doing a lot of smoothies and stir fry's, but I've also been adding other things like sushi, sweet potato and red pepper bisque, kale, quinoa and avocado salad and brownie bites. (Yes! Brownie bites!) Now that I'm in the swing of things, food prep has become second nature and I'm able to adapt some of my favorite recipes to fit the plan. This week was also the first week I used one of my "Zings", or substitutions. You're allowed three Zings a week, and they include wine, chocolate and there are even a few cookie recipes you can use. I was pretty boring and I used mine for soy milk in my decaf coffee. It's actually been an interesting two weeks, I haven't even wanted to cheat on the meal plan and I haven't had any cravings at all (which is TOTALLY not like me!) It's also been super easy to follow the meal plan using printable charts that can be found here. This week also came with some pretty EXCITING NEWS for VEGANS! This week we got the green light to add beans, lentils and quinoa to the red foods category! This news came at the perfect time, too. After two weeks of protein powders and tofu I feel like I've swallowed a brick! I'm also pretty happy I get to add some more fiber back into my diet. So this is what the updated vegan 21-Day Fix food list looks like! I'm getting much better with the workouts, too. I'm getting the moves down, I'm not as sore, and I'm already seeing RESULTS!!! I can honestly say that I have never in my life worked my abs as much as I have this past week, which is good news because I'm heading on a Beachbody cruise in just four short weeks. After two weeks of doing the 21-Day Fix, I'm down 2.8 lbs, putting my total weight loss since Christmas at 9.4 lbs! So now that I'm entering into my final week, a few things are going to change. First, I'm going to add in the Plyo Fix bonus workout. This is a free workout you get when you order through your coach (me!) and can be added in any time you feel like doing a little extra cardio, or you can use it to replace Cardio Fix, which is what I'll be doing at least one of the days. Second, I'll be switching over to the 3-Day Quick Fix meal plan for my final three days, Thursday, Friday and Saturday. This is a 3-day bikini prep meal plan that is optional for your last 3 days of the 21-Day Fix. It is a typical competition meat and veggies diet, so I'll be pulling out the tofu and protein powders again for those three days. This week also came with some other great news! After the 21-Day Fix SOLD OUT only 3 days after being released, back orders started shipping this past weekend. If you'd like to learn how to FUEL YOUR BODY properly for optimal weight loss and energy, reserve your spot for my next facebook accountability group by messaging me on facebook or filling out the form found here and I will get back to you shortly!
43 Comments
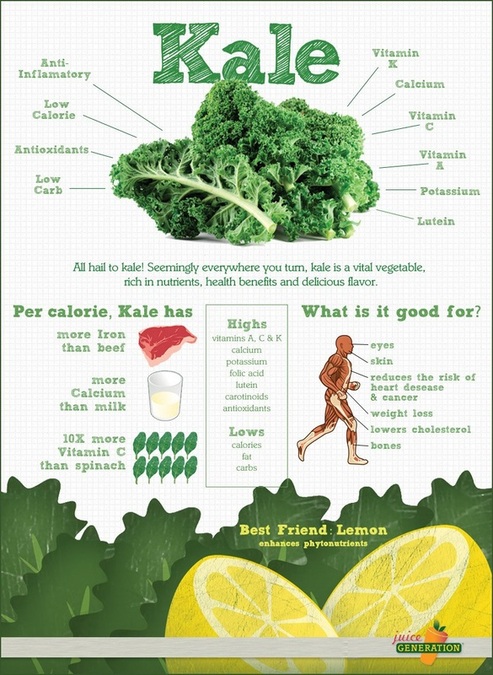
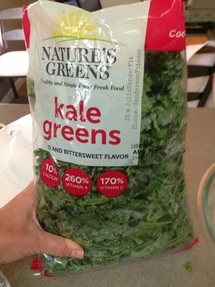
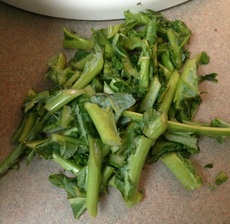
Kale! This powerful leafy green superfood is quickly finding it's way into the homes of many people who are trying to get healthy. And for good reason! It's packed with vitamins K, A and C, has more calcium than milk, more iron than beef, is loaded with antioxidants and is anti-inflammatory. If you haven't tried kale yet, what are you waiting for!? :) Scott and I both put a big handful of kale in our green smoothies every morning, but there are a few other ways to eat this super charged plant. One of those ways is kale chips! Kale chips are great for people like me, who like to have food to pick at. I can get stuck mindlessly eating a bag of chips, but kale chips help erase the guilt! And they're super easy to make. You can use either your oven or a dehydrator. I like to use my dehydrator because I can control the temperature better, and keep the temp low enough so that they're still considered a raw food. By keeping them raw, more of the enzymes and nutrients are still intact. You can play around with the different spices as you go, but this recipe for kale chips is one of my favorites so far. Today I started with a BIG bag of kale that I got from BJ's Wholesale. I know, not organic, but the convenience factor won me over because they were already broken into small pieces. If you do decide to use fresh kale, you'll want to make sure you wash it really well, remove the stems, and break it into small pieces. If you're using kale from a bag, be sure to go through and remove the stems.
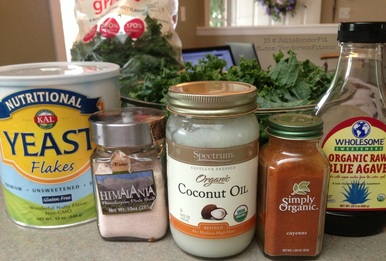
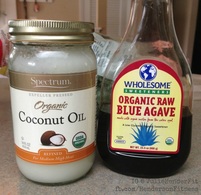
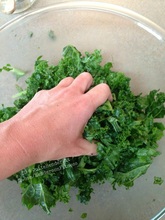
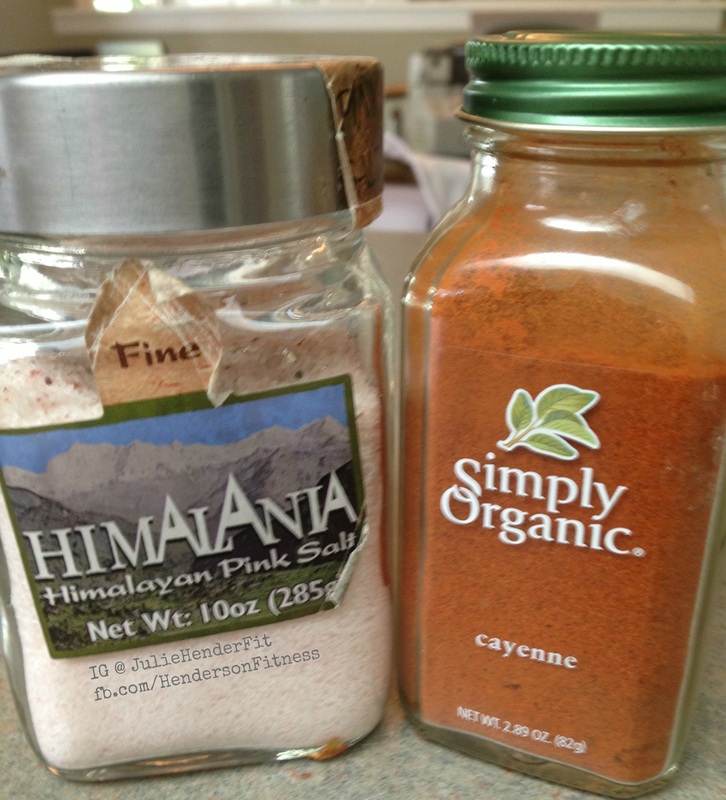
Once you've washed your kale, removed the stems and broken it into pieces, put it in a large bowl and add the oil and agave. I usually use olive oil, but today the only oil I had in my house was coconut oil and it worked just as well, I just had to warm it a bit first so it was a softer consistency. Mix together one Tbsp oil to one to two Tbsp's agave, depending on how sweet you want them. Massage the kale with the oil and agave in a large bowl, making sure the mixture is coating all the kale. (Massaging kale is also great when using kale for salads, too!) Sprinkle with sea salt and cayenne. Be careful with the cayenne, the kale will shrink when it dehydrates, the cayenne will NOT!
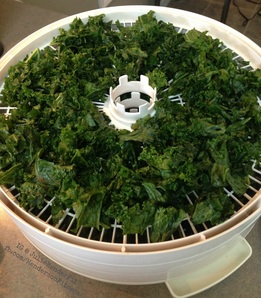
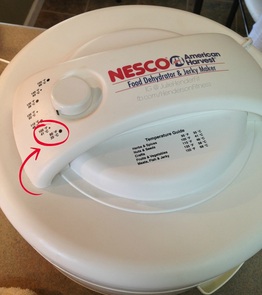
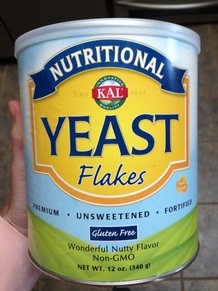
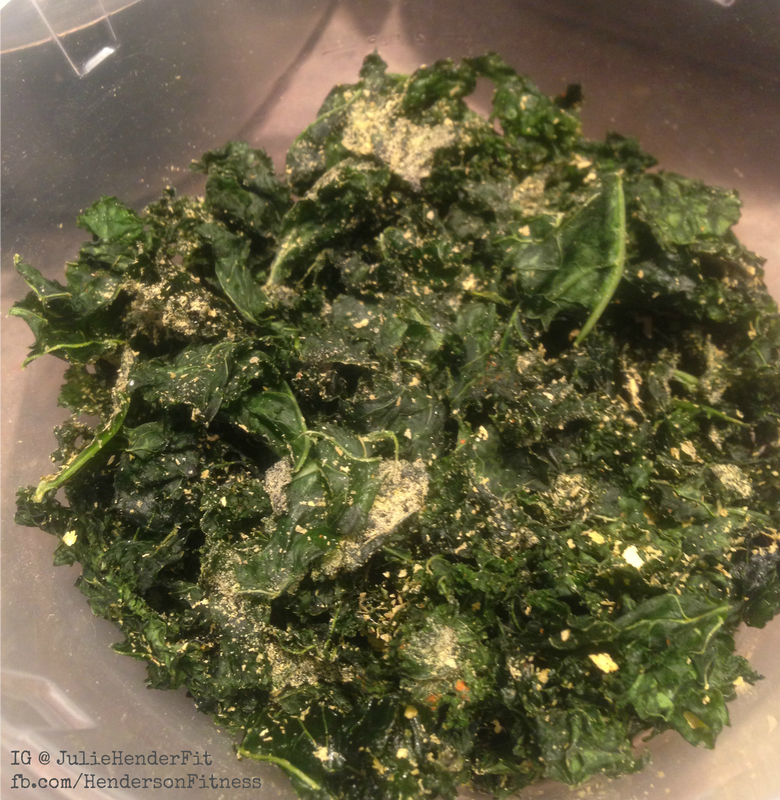
Once you have all the kale coated it's ready to go into the dehydrator. Spread out the kale evenly, then adjust your temperature so it's below 118 F. This will ensure that they're still raw. I put my temperature gauge somewhere between the first two settings. It will take a few hours for them to dry out. You'll be able to tell when they're ready because they will be crispy and won't be flexible. I just use a cheap dehydrator that I got years ago. It works well enough. Sometimes the food on the top shelves gets done a bit sooner than the bottom shelves, so I just remove the top shelves once they're done and keep the bottom ones on until they're ready. Once they're done they're ready to eat! Store them in an airtight container in the fridge. Just before I eat them I sprinkle them with nutritional yeast.
Everyone's heard of the Master Cleanse where you drink nothing but water with cayenne pepper and maple syrup, or the Cabbage Soup Diet or the juice fast or all the others on the market so it's not surprising that the #1 question I was getting asked while doing the Ultimate Reset was, "So what are you eating?" Well, here's the answer! |
JulieFormer esthetician & LMT turned #GIRLBOSS, vegan food & fitness, travel, beauty, FUN!! Veg-curious friendly ☀️👙🌴✌🏻️ Archives
September 2015
Categories
All
|




 RSS Feed
