|
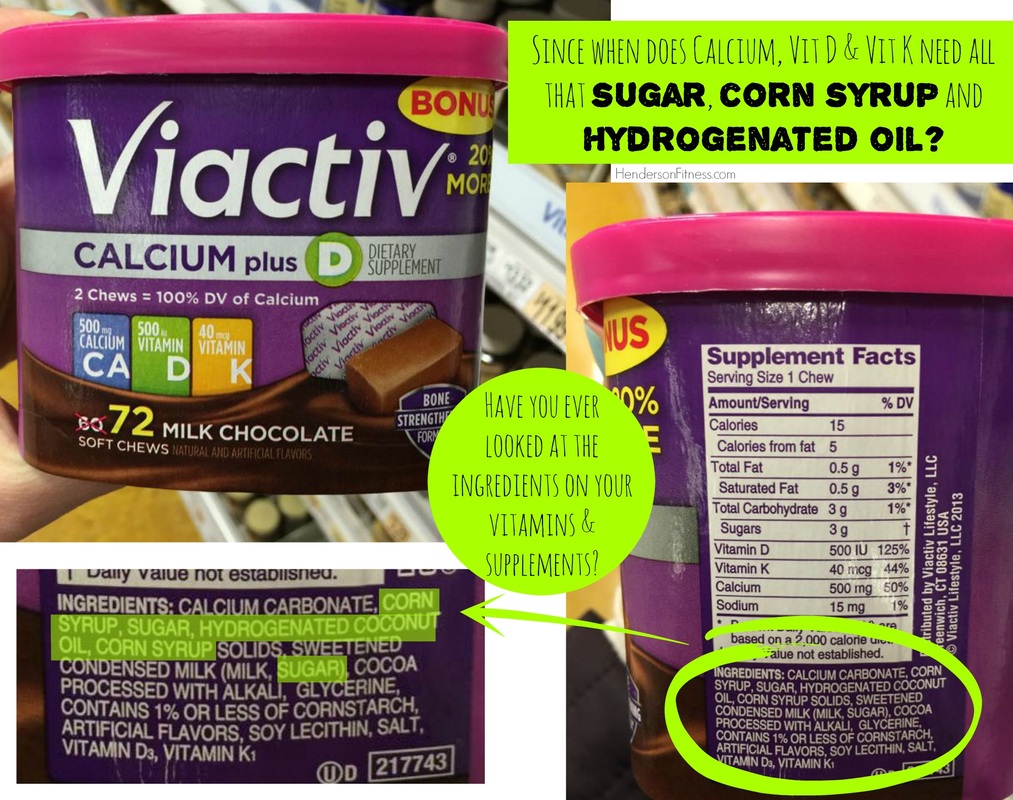
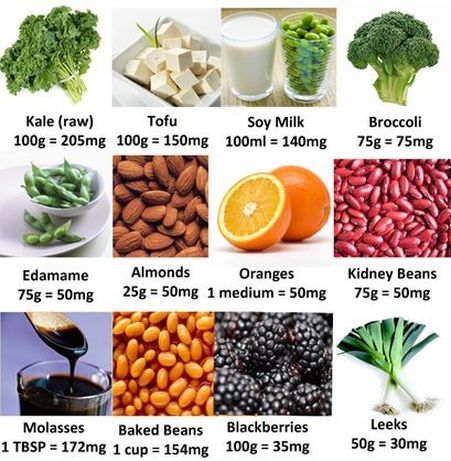
Ok, so you know I'm big on reading labels... but have you ever thought of reading the labels on your vitamins and supplements? Today while I was wandering around the grocery store looking for Scott I found these popular calcium chews. Years ago, before I learned how to read labels, I used to pop these like candy thinking I was doing my bones good. Little did I know just how similar to candy these actually are! Seriously! Are you as surprised as I was!? Almost every ingredient is sugar, corn syrup or hydrogenated oils. So, what's a girl to do to get in her calcium? Easy! Whole foods. (I mean really, you KNEW I was going to say that!) :) Check out the great pic below of some whole food sources of calcium! If you've found some surprising mystery ingredients in your "health" foods, or if there's a food you'd like me to check out, comment below or PM me on facebook! And be sure to share this with your friends. They're doing what they can to get healthy, know they just need to know not to believe the marketing BS that's being shoved in their faces on the daily!
0 Comments
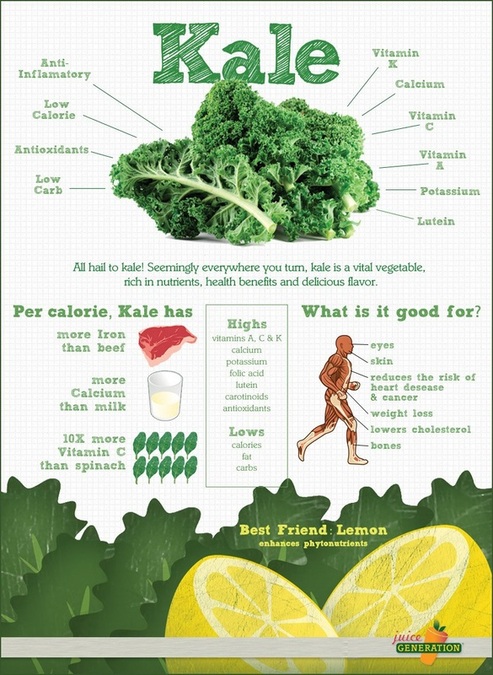
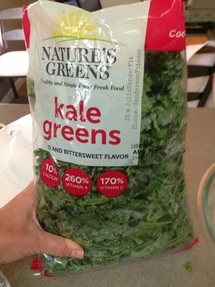
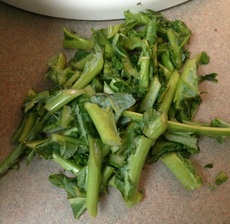
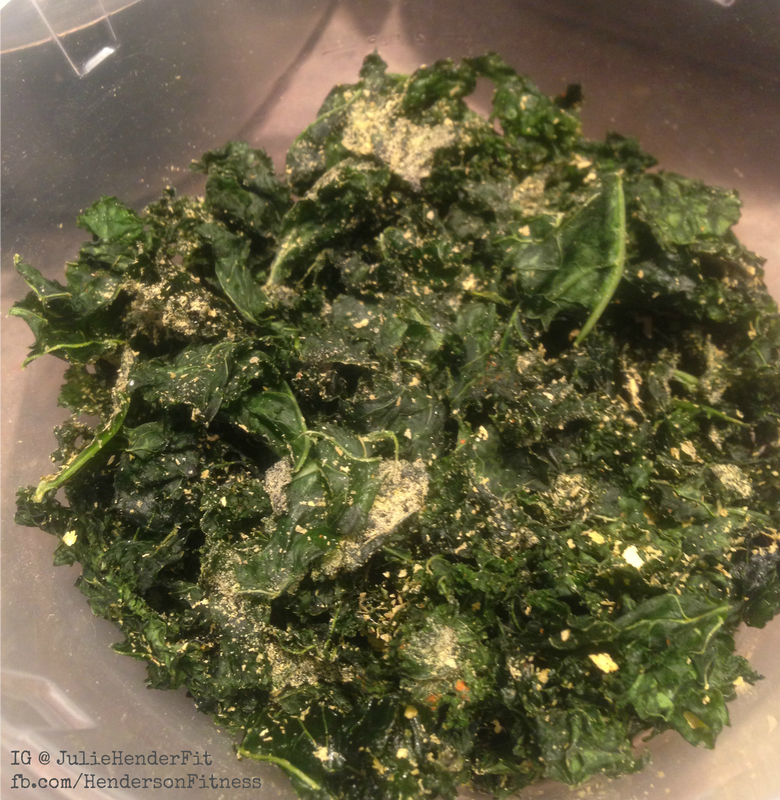
Kale! This powerful leafy green superfood is quickly finding it's way into the homes of many people who are trying to get healthy. And for good reason! It's packed with vitamins K, A and C, has more calcium than milk, more iron than beef, is loaded with antioxidants and is anti-inflammatory. If you haven't tried kale yet, what are you waiting for!? :) Scott and I both put a big handful of kale in our green smoothies every morning, but there are a few other ways to eat this super charged plant. One of those ways is kale chips! Kale chips are great for people like me, who like to have food to pick at. I can get stuck mindlessly eating a bag of chips, but kale chips help erase the guilt! And they're super easy to make. You can use either your oven or a dehydrator. I like to use my dehydrator because I can control the temperature better, and keep the temp low enough so that they're still considered a raw food. By keeping them raw, more of the enzymes and nutrients are still intact. You can play around with the different spices as you go, but this recipe for kale chips is one of my favorites so far. Today I started with a BIG bag of kale that I got from BJ's Wholesale. I know, not organic, but the convenience factor won me over because they were already broken into small pieces. If you do decide to use fresh kale, you'll want to make sure you wash it really well, remove the stems, and break it into small pieces. If you're using kale from a bag, be sure to go through and remove the stems.
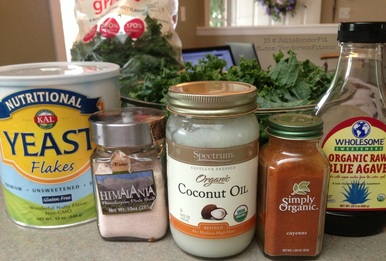
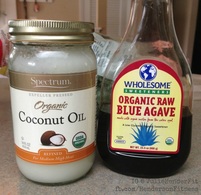
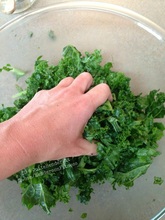
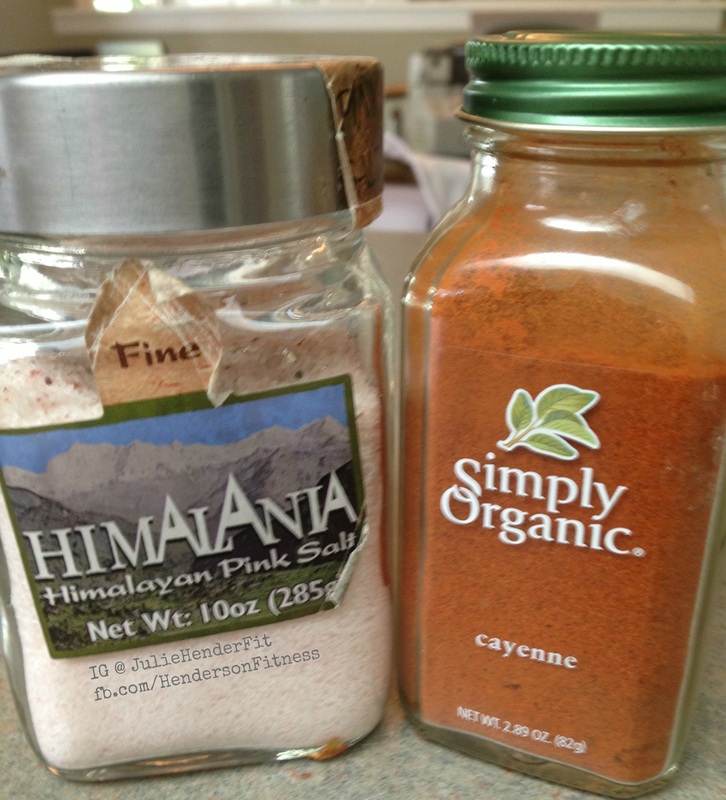
Once you've washed your kale, removed the stems and broken it into pieces, put it in a large bowl and add the oil and agave. I usually use olive oil, but today the only oil I had in my house was coconut oil and it worked just as well, I just had to warm it a bit first so it was a softer consistency. Mix together one Tbsp oil to one to two Tbsp's agave, depending on how sweet you want them. Massage the kale with the oil and agave in a large bowl, making sure the mixture is coating all the kale. (Massaging kale is also great when using kale for salads, too!) Sprinkle with sea salt and cayenne. Be careful with the cayenne, the kale will shrink when it dehydrates, the cayenne will NOT!
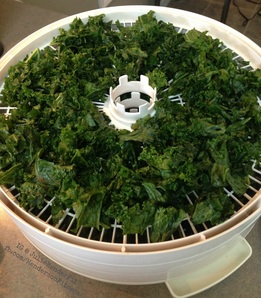
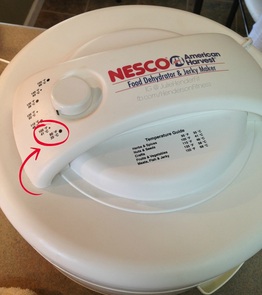
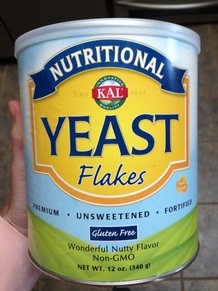
Once you have all the kale coated it's ready to go into the dehydrator. Spread out the kale evenly, then adjust your temperature so it's below 118 F. This will ensure that they're still raw. I put my temperature gauge somewhere between the first two settings. It will take a few hours for them to dry out. You'll be able to tell when they're ready because they will be crispy and won't be flexible. I just use a cheap dehydrator that I got years ago. It works well enough. Sometimes the food on the top shelves gets done a bit sooner than the bottom shelves, so I just remove the top shelves once they're done and keep the bottom ones on until they're ready. Once they're done they're ready to eat! Store them in an airtight container in the fridge. Just before I eat them I sprinkle them with nutritional yeast.
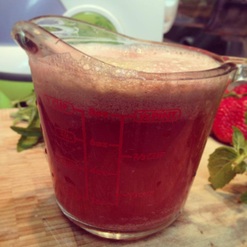
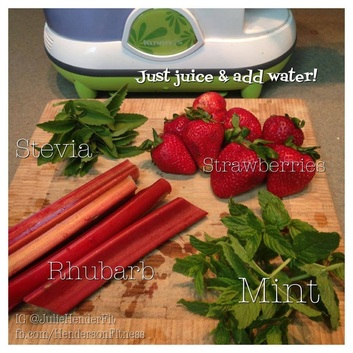
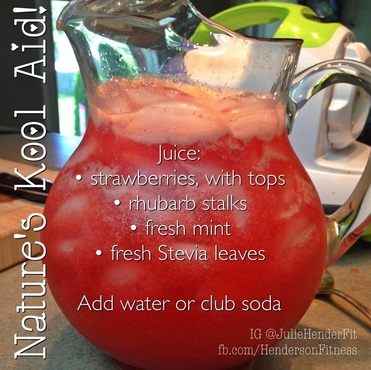
Rhubarb is a great source of calcium, vitamin K, lutein (which helps with your skin and eyes) and antioxidants, and also helps lower your cholesterol. We have so much of it growing in our backyard, and with all those health benefits you'd think we'd eat it all the time, but we really don't. Why? There are so many great rhubarb recipes out there, but unfortunately, because rhubarb is so sour, they all contain a ton of added sugar. Until now. :) This weekend it was hot and sunny out. Perfect weather for me to make my homemade, sugar-free lemonade (which I should really post a recipe for!) and then it hit me... I could juice rhubarb! So I grabbed a couple stalks and headed to the kitchen! I juiced approximately two BIG stalks and ended up with a full cup of rhubarb juice. (For those of you who juice regularly, you know that's a lot of juice!) Since rhubarb is almost all water, it had a very high juice yield, but because of the fiber in the stalks, it really clogged up my juicer, almost like wheatgrass does. I used my Kuvings masticating juicer. I'd be interested to see how it juices in a centrifugal juicer. Then I juiced some fresh stevia leaves, fresh mint leaves, and a pint of strawberries, leaving the tops on. This juiced much thicker than the rhubarb and almost pulpy. After that I just added it to a bunch of ice and topped it off with club soda, but you could also use water (which is what I do for my lemonade). And that's it! It was so nice and refreshing. You could also play around with it and add frozen blueberries, peaches or other fruit, and replace the fresh Stevia with a different sweetener, or omit it all together.
If you make this, let me know in the comments below how you liked it and if you made any adjustments to the recipe! |
JulieFormer esthetician & LMT turned #GIRLBOSS, vegan food & fitness, travel, beauty, FUN!! Veg-curious friendly ☀️👙🌴✌🏻️ Archives
September 2015
Categories
All
|


 RSS Feed
